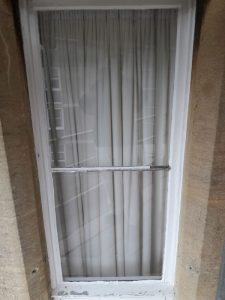
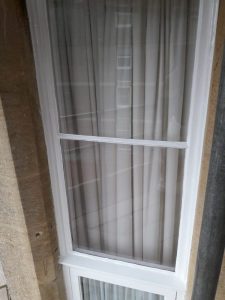
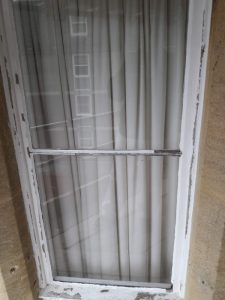
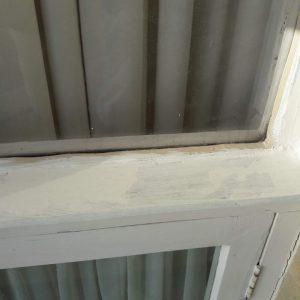
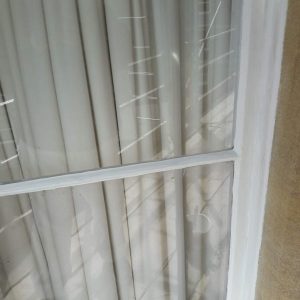
We recently took on a project to redecorate a number of large old box sash windows of an old Victorian mansion. They had been hammered by the coastal weather and had not been touched for at least ten years due to their inaccessibility. Once the scaffolding had been erected the full extent of the damage could be assessed.
So, to show you whats involved in carrying out a decent redecoration of old weathered timber windows to enable them to last at least another 5 years, here is a step by step guide, we hope you find this informative.
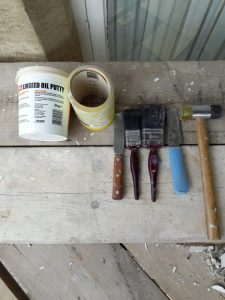
Tools you are going to need.
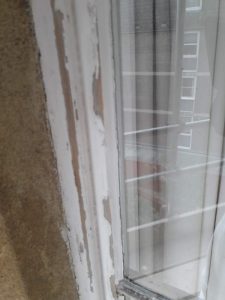
1. Using a putty knife scrape off all the loose paint from the glass back to the putty edge, this will allow you to form a new over painted weather seal when you do your undercoating and gloss at a later stage.
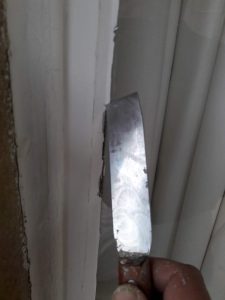
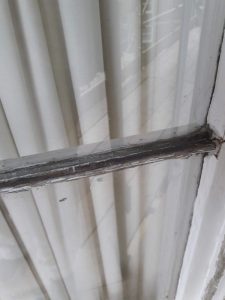
2. Again using the putty knife scrape off any loose and cracked paint from the frame. Be careful not to dig into the wood causing damage to the frame.
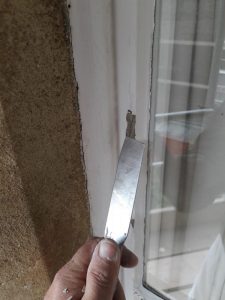
3. Next, using the plastic head of the hammer and the ‘hacking out’ knife, remove any loose or cracked putty. This should be done with the greatest of care making sure that the end of the knife doesn’t hit the edge of the glass as you could create a crack and the glass will need replacing. When hacking out the putty be sure to go down to the timber leaving a clean surface as the new putty will not adhere to any residue of the old putty. Ideally all the putty should be completely removed from the perimeter of the glass, however in this instance our brief was to only remove the failed sections. Finally, using a brush, clean off any dust within the rebate.
4. Now lightly sand down the frame to create a key for the new paint. A more vigorous sanding will be required to areas where the old paint has chipped or fallen off. Here the edges of the paint will need to be sanded back until the old paint layers start to show through. alternatively use a filler to create a level surface.
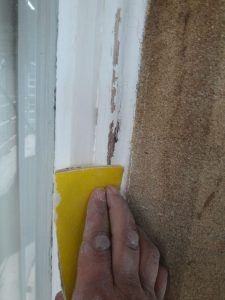
Once you you have finished sanding, use a dusting brush to clean down all the surfaces, paying particular attention to the exposed rebates where the old putty was removed. Now is the time to replace any glazing pins that may have rusted away.
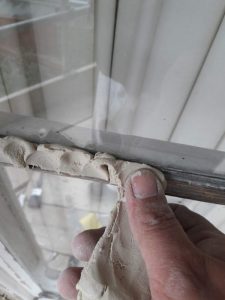
5. Next remove all the linseed oil putty from it’s container and massage it in your hands to ensure the oil is evenly dispersed throughout the putty. Once this is achieved remove a manageable handful and return the remainder to the container and securing the lid. Once your handful has raised to the temperature of your hands, start to thumb it into the rebates making sure it is of a roughly even height along the glass and is adhering to the timber by pressing it down into the rebate. Then using your putty knife and starting from a corner, angle the knife and with equal firm pressure run the knife along the timber to the other corner ensuring the knife stays at the same angle. Remove the excess that builds up behind the knife and return it to the container. Finally using a dry bristle brush and in long strokes, lightly bush along the line of the putty until it has adhered to the glass and timber completely. This will also produce a smooth uniform surface.
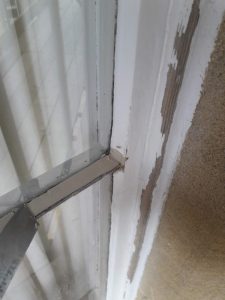
6. Once you have replaced all the failed putty and the frame is all clear of dust, apply a coat of quick dry wood primer to all exposed wood and allow to dry. Do not worry if some covers the new putty.
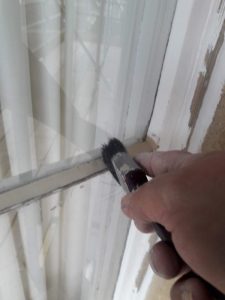
7. Next, apply a coat of external grade oil based undercoat to the frame. Over-paint onto the glass by approx 5mm to create a weather seal. Ideally time should be allowed for the putty to create a tough skin before painting, however this is rarely possible. Allow to dry as per instructions on the tin. Following that , apply two coats of oil based external gloss. Try to use a quality undercoat and gloss from the same manufacturer such as Dulux Weathershield, or Johnstones trade Stormshield.
Please note that in some instances external window faces may have been decorated in an acrylic paint. If that is the case, Use a water based undercoat and apply two coats of external grade Opaque. Again only use quality products. Cheap non-branded paints do not generally last.
That’s it! If you follow these instructions, your windows should look great for years to come.
For more information or any additional advice, please don’t hesitate to contact us.